Installing Your 27″ Skylight Calendar Max – Unboxing & Setup Guide
Discover how to install and set up your 27 Skylight Calendar Max. Unboxing, quick setup, and tips for seamless family scheduling in one smart device.
The 27 Skylight Calendar Max is the best family scheduling center, which is meant to introduce order, fashion, and comfort in every household. The 27 skylight Calendar Max is a massive display with rich interface and smooth design that allows the families of any size to keep track of events, reminders, and daily schedules, among others. This manual will take you through the unboxing and installation procedure so that your calendar will be installed safely, efficiently and in a manner that it is ready to use. The Digital Calendar Max whether it is in a family room, kitchen or office will provide a premium user friendly experience to your household.
Digital Calendars
Power Supply
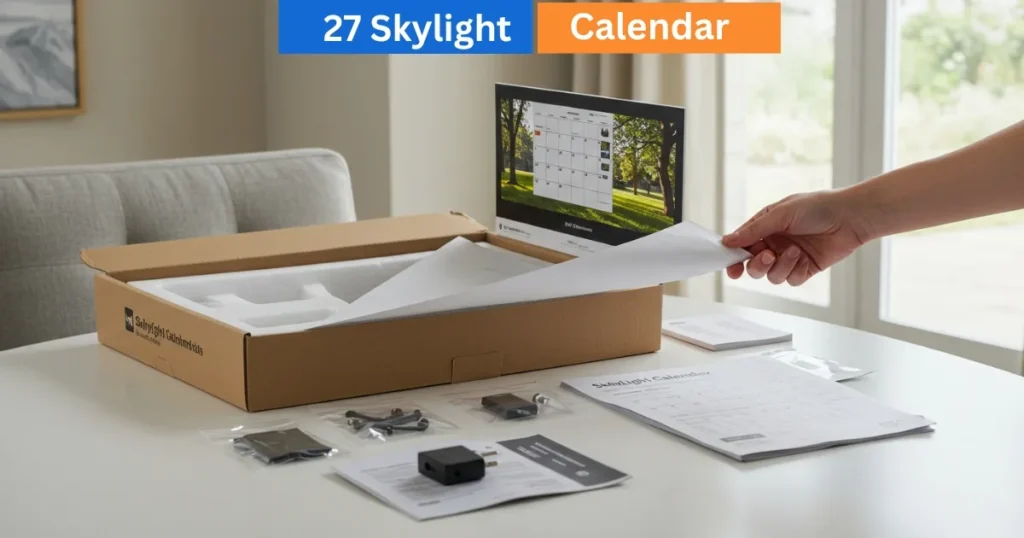
Peel off the top layer of the protective foam and make sure to peel off the 27 skylight calendar. Under it, the wall mounting bracket, hardware and power supply are well organized. Lastly, remove the protective film on the screen to expose the colorful 27-inch screen.
Amazon Affiliate Disclaimer
https://digicalendars.com participates in the Amazon Services LLC Associates Program, an affiliate advertising program designed to provide a means for websites to earn fees by linking to Amazon.com and other affiliated sites. As an Amazon Associate, we earn from qualifying purchases made through the links on our website. This does not affect the price you pay your support simply helps us maintain the site and continue offering honest, valuable reviews and recommendations.
Installing the Calendar Max
The Calendar Max is made to be mounted on the wall only, which gives it a smooth and contemporary appearance and conserves counter space. Make sure that there is a power outlet nearby before installation.
Choosing the Right Height:
- In case of older children or adults: The top of the mount must be placed 60 inches (152 cm) above the floor.
- In the case of younger children: The top should be placed 48 inches (122 cm) above the ground.
- Always make sure to verify with your family to make sure that the calendar is easily visible and accessible to everyone.
Best Digital Calendars
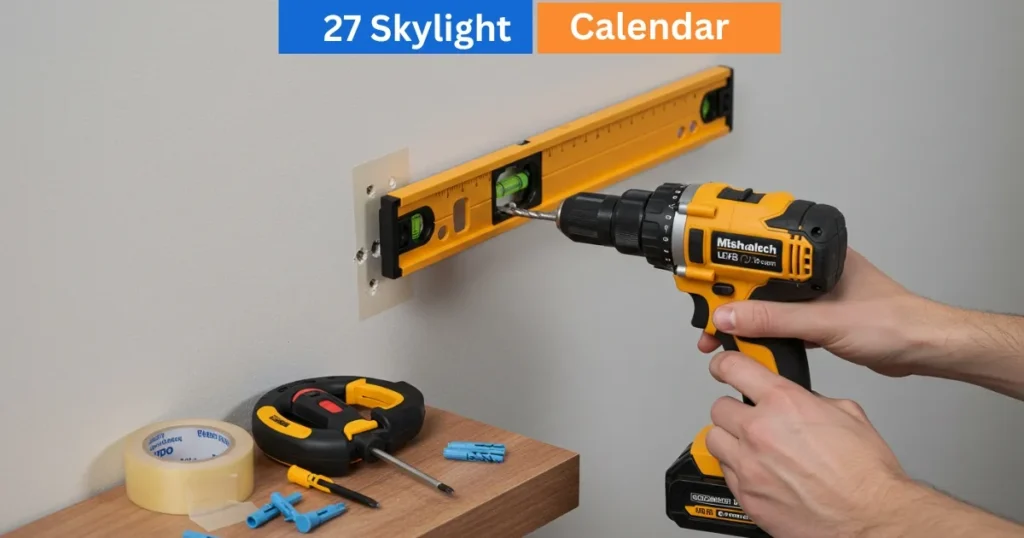
Installation of Wall Mounting Bracket
- Tools Needed:
- Masking tape
- Pencil
- Phillips-head screwdriver
- Drill with 5/16″ drill bit
Best Digital Picture Frames
Step-by-Step Installation
The installation manual should be stuck to the wall in the way you want with soft masking tape.
- Install the wall mount bracket on the guide center.
- Drill hole (Hole 1) through the guide with 5/16″ drill bit.
- Slowly pick out the guide and place a wall anchor into Hole 1.
- Use one of the screws and connect the mounting bracket to the anchor.
- Align with the level that is built in and use a pencil to mark Holes 2, 3 and 4.
- Drill the other three holes and install wall anchors.
- Place the bracket on the holes and fasten it with the rest of the screws.
- The mounting bracket is now firmly and safely fixed to the wall.
How to Use Digital Calendar’s Features – Complete Guide
How to Use Digital Calendar’s Features 2 – Complete Guide
Mounting the Calendar
Insert the power supply in the back port of the 27 skylight Calendar Max. Additional cable length around the cable holder should be wound around as needed.
- Slide the calendar in the bracket at the wall and carefully attach it on the wall.
- Insert the power adapter into the outlet that is close.
Congratulations! Your 27 Skylight Calendar Max has been installed and is now ready to serve, giving you a clear and big picture of the schedules, events and reminders of your family.
Final Thoughts
The Skylight Calendar Max is not only a digital planner it is a focal point in your house. It is easy to set up and has a modern design, which is accompanied by a big 27 inch screen, which makes it ideal in families that want to remain organized in style. As soon as it is installed, the calendar is already ready to assist you in planning your week, organize family affairs, and keep the rest of the team on the same page just by looking at it.

